When fall arrives, there are two things you can do with your grill. It’s either you clean the grill and prepare it for storage during the winter or continue using the grill despite the cold weather. However, this article is going to focus on providing a few tips when it comes to cleaning your grill and preparing it for storage.

How to Clean and Prepare a Gas Grill for Winter Storage
There are a few ways you can clean and prepare your grill for storage depending on the time and effort you are willing to spend.
Quickest Approach
This approach is the easiest and yet taking care of the essentials of grill storage. The most important step is to turning off the propane tank and disconnecting the hose. If your grills are connected directly to a gas line, then you need to shut-off the gas valve both at the house and tank.
If you are thinking of storing the grill in the shed or garage, then it is advisable that you leave the tank outdoors, preferably at a location away from the house.
Chances are there is nothing catastrophic that is going to happen when the tank is left indoors. However, it is safer to keep the tank outside; and in situations like this, it is better to be safe than sorry. Worst-case scenarios may include the tank starts leaking and starts contaminating the house or the tank starts leaking and catching a spark.
Moderate Approach
This approach will take about 1 to 2 hours of your time. You can start by doing everything mentioned above, the Quickest Approach.
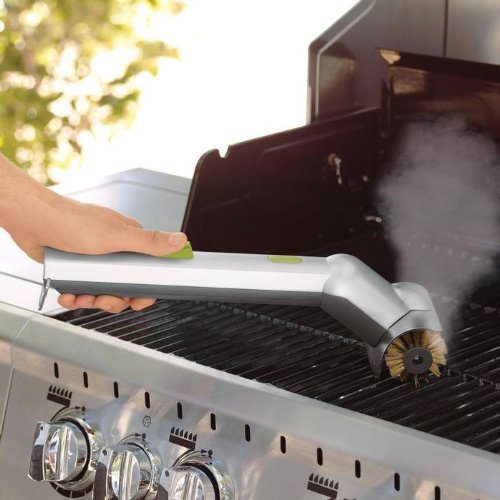
Then you can proceed with cleaning the grates. Start by warming the grates. Once the grates are warmed, you can start cleaning it with a grate cleaning brush.
You can purchase one from a hardware store. Make sure to get a grate cleaning brush that comes with a metal scraper. You will need the scrapper part to scrape-off the brunt foods that are stuck on the grill. Remove the grill so you will be able to clean both sides.
Directly beneath the grill box, you will find a pan. This serves the purpose of collecting excess oils. Slide the pan out. You can either replace it or clean it.
If you decide to clean it, you may have to soak the pan with a detergent that is specially created for cutting grease. There are portions of the pan that may have a high concentration of grease. Start pouring a detergent over it. Add the right amount of water, enough to make it wet, but not too much to make it float. Let the detergent sit on the pan overnight. Clean it off with a garden hose with the nozzle set to a high-pressure setting. Steel wool can help a lot in removing the stubborn grimes.
As an additional tip for making cleaning easier the next time around cut a piece of aluminum foil and shape it so it will fit perfectly on the pan. Replace the aluminum foil as needed. This way, the excess oil falls on the foil and not directly on the pan.
Best Approach
This approach will take a lot of hours, in excess of two. However, the results will make you feel good about your grill and yourself. Start by doing the Quickest Approach and Moderate Approach.
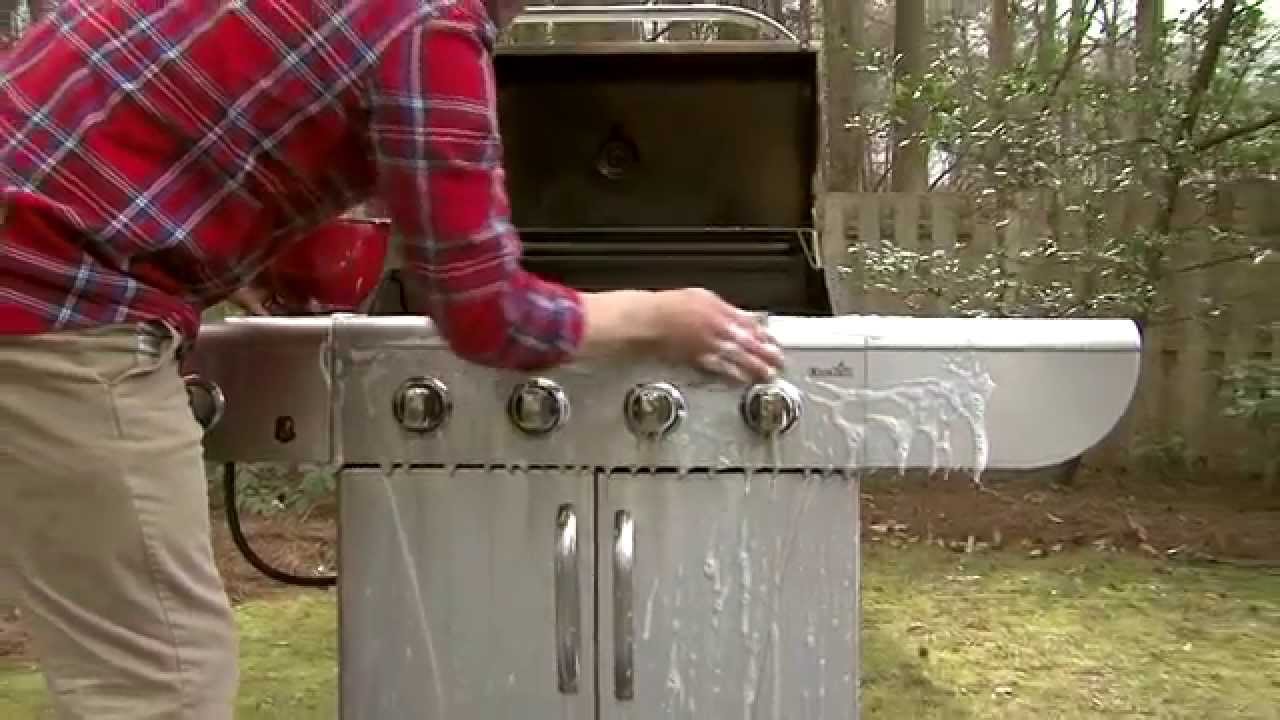
Proceed cleaning the exterior burners, trays and outside parts of the grill. Use rags or newspapers and a grease-cutter detergent. You can also use hot water with vinegar to clean the outside parts of the grill. Make sure to rinse it well with water.
You will also have to clean the interior areas of the grill hood. The grill hood is bound to accumulate soot and grease. With a window cleaner, start spraying directly to the inside part of the grill hood. Wipe it off using a newspaper or rag. Newspapers are advisable since you can toss them after using and they are still recyclable. If the window cleaners can’t do the job, then you can use hot soapy water instead.
There are grills that make use of blocks or rocks. To clean them, start flipping them over. Then turn the grill on for approximately 30 minutes. This will burn-off any residues that may have been clinging to them.
